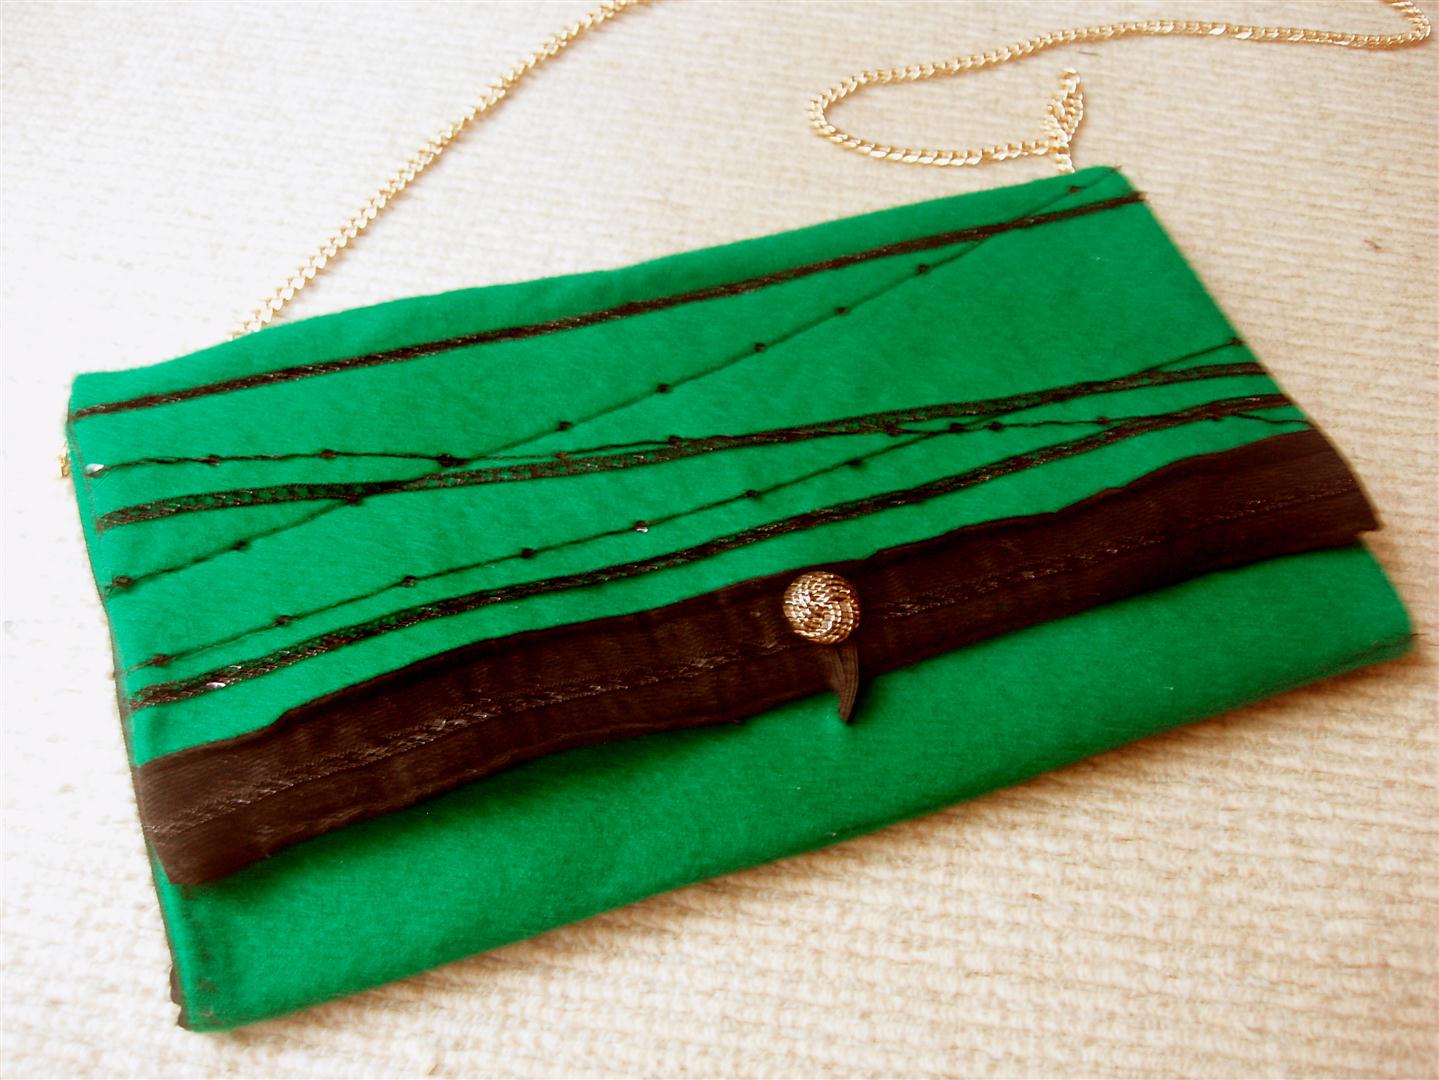
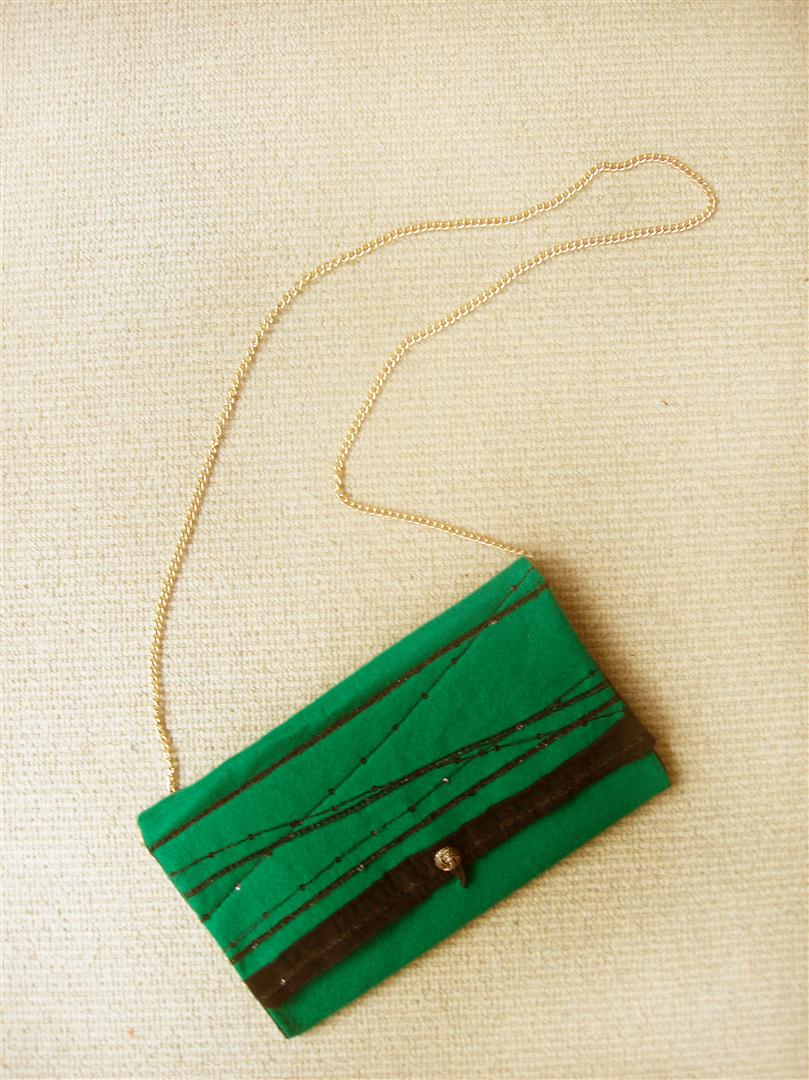
another crafty goodness post!
This time I am showing you a present I made for my very best friend in Germany for whom I always make handmade presents.
I had decided to make a handbag for her and because I wanted to make it right there and then, I used only materials I already had at home.
It’s a clutch bag which is really simple to make because essentially you only need to create a rectangle that gets sewn together in thirds ( the top third is the cover), so I thought I could manage that with my limited sewing skills
What I used:
Green felt about 30cm x 60cm
black lining fabric ( i think it was a synthetic fabric) about the same size
Sequin lining borders (plucked off of another fabric 🙂 I was desperate in the decoration department)
1 stripe of black corduroy
2 pieces of V shaped black corduroy the length of the height of the bag (around 20 cm)
golden button
short piece of elastic band as the hook for the button to close the
90cm gold chain from the craft store
3 rectangular pieces of card board for stabilising the inside
How I did it:
I sewed on the decoration borders, corduroy stripe and the button first on the bottom end of the green felt, then I turned it over and sewed the matching black piece of lining on the other/wrong side of the felt on all sides but the top side. I then turned this “sack” inside out so that it was the right way up again and inserted my 3 pieces of cardboard (which was taped up so it wouldn’t go soggy if it gets wet) into it. I then adjusted the boards and sewed them shut and tight at each side so that the boards wouldn’t move. I used green thread so that it wouldn’t be so visible on the outside of the bag. When sewing shut the top end (which will be the cover) I tucked all the ends in so that is looks neat as this is the front end of the cover. Then I folded the bottom piece up and sewed in the 2 V shaped black corduroy on the sides (by hand) so that it could be opened like a “file”. I don’t like bags that have no space inside, so I inserted these V shapes to give it some room on the inside. Lastly I attached the chain to a fabric loop at each end that got sewn into the bend of the cover on the inside. I also added the stretchy elastic band through a hole in the bottom part and tied it on the inside so that I could close the cover.
That’s it!
I apologise for these horrible images, I truly don’t know what I was thinking, I should have made some better ones. But they are better than nothing! 🙂


